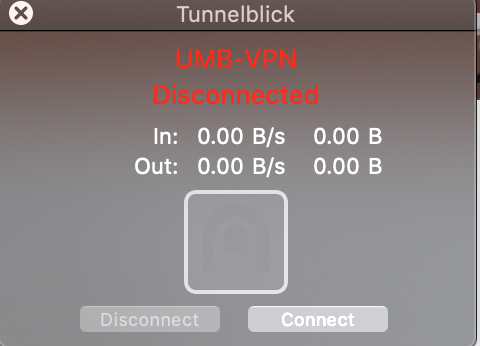
Download Tunnelblick
1. Download the current version of the program on the Tunnelblick page. In our case it was the current version 3.8.3a.

2. Open the terminal application
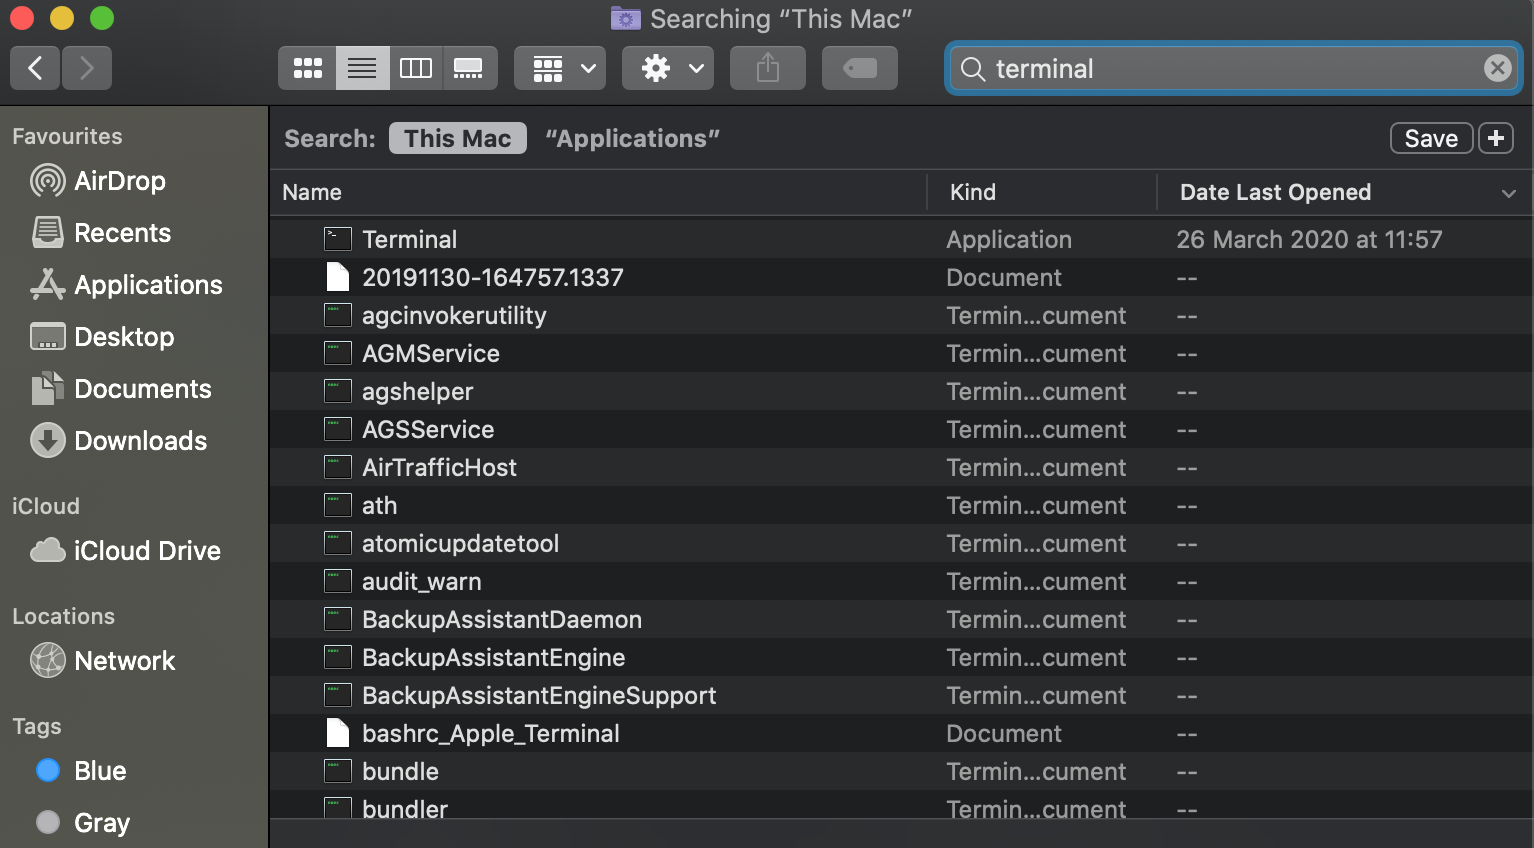
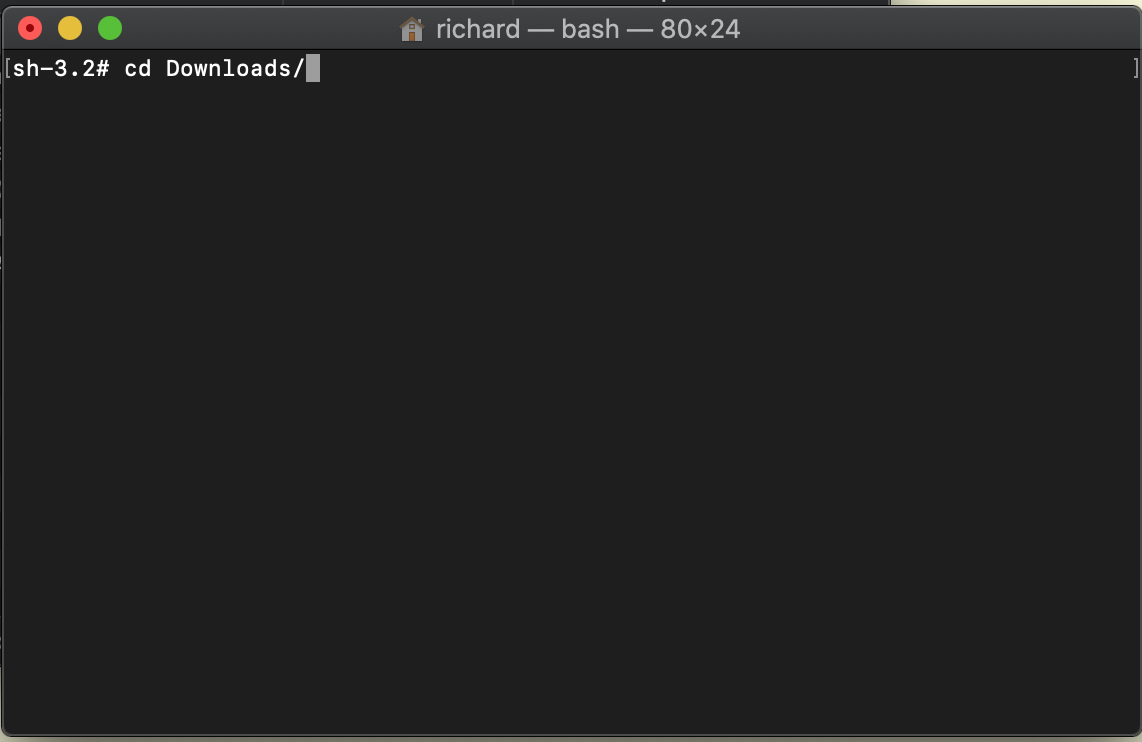
3. Use the cd command to move to the folder where we downloaded the application. In our case it was the cd Downloads /.
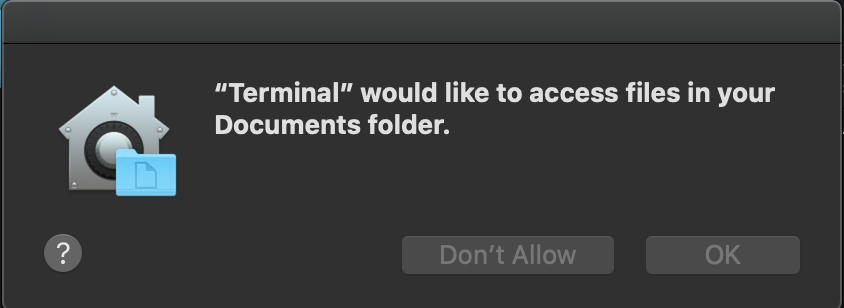
4. In the next step confirm access to the folder
5. Use the shasum -a 256 file_path to create an installation hash and compare it with the value specified in the installation package on the website. In this case, the command looked like this: shasum -a 256 Desktop/Tunnelblick_3.8.3a_build_5521.dmg (The location may differ depending on where we downloaded the file and whether we enter the full path to it because we are already directly in the folder where the file is located. If the file is in the Downloads folder and we moved there with the command in step 3 then the command would look like this shasum -a 256 Tunnelblick_3.8.3a_build_5521.dmg)


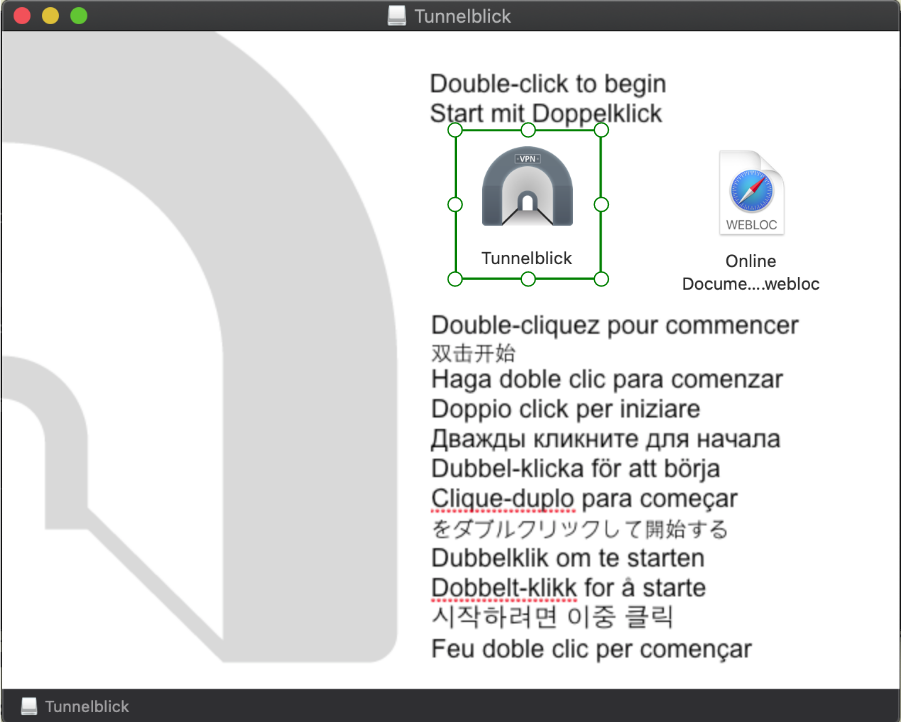
6. Double-click to start the program installation
7. Then click on Tunnelblick
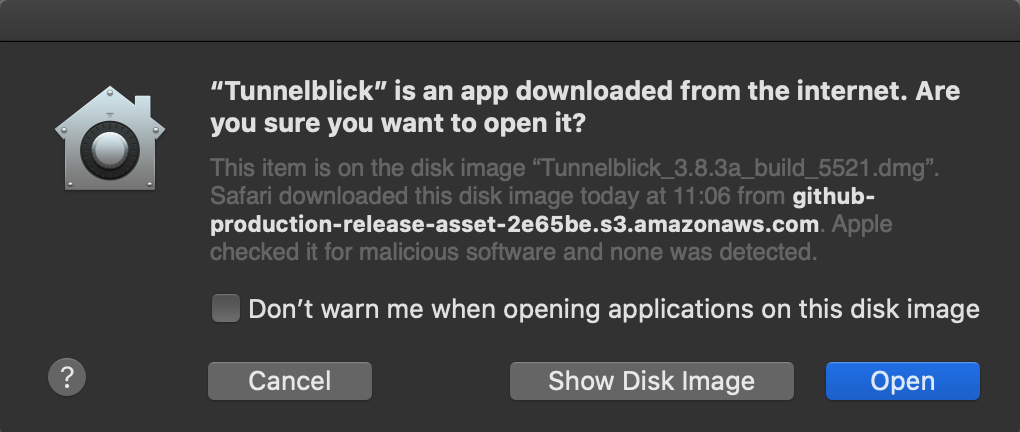
8. Begin installation by clicking on the "Open" button
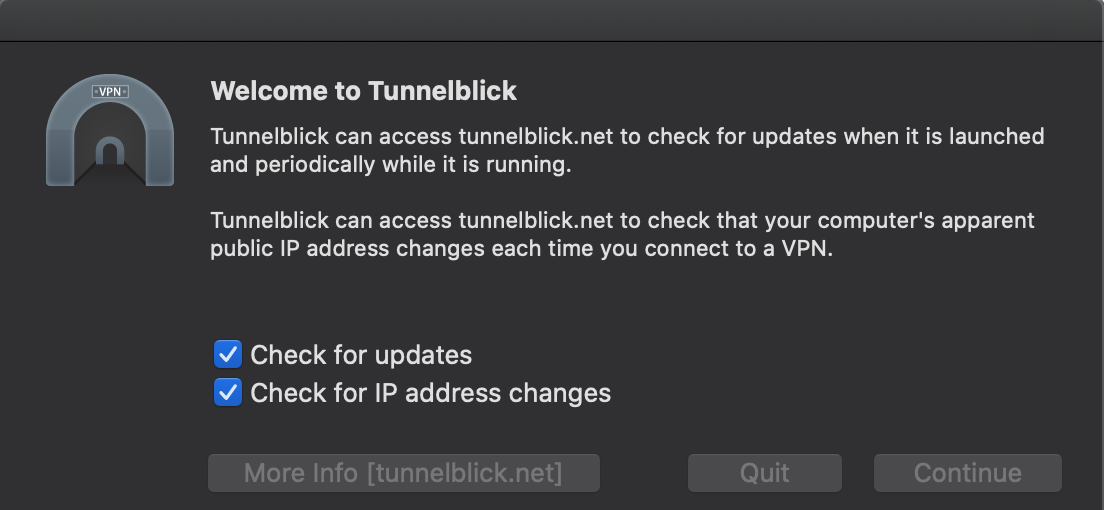
9. Enable the checkboxes and click on the "Continue" button
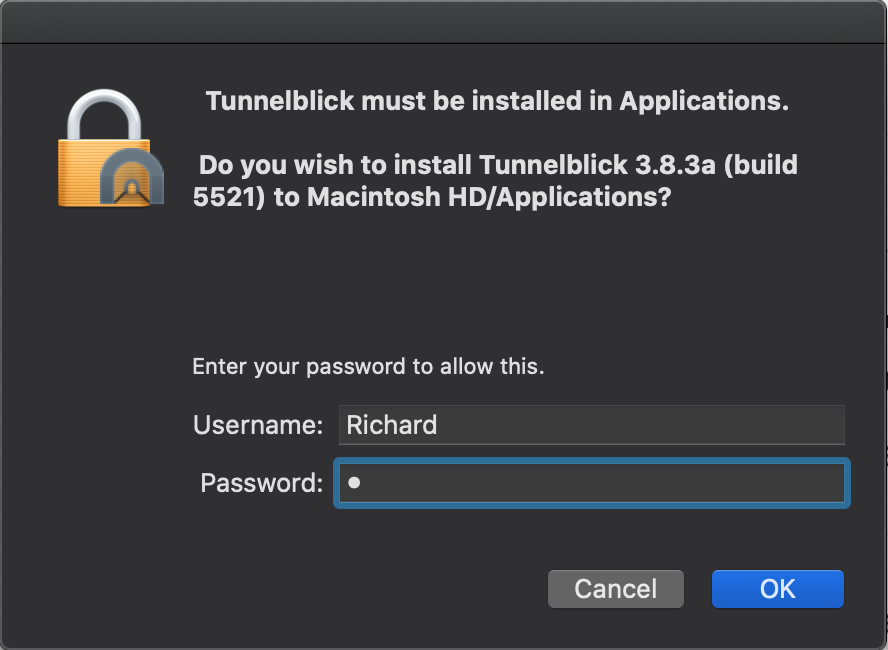
10. Verify with a password
11. After installation, click on the button "I have configuration files"
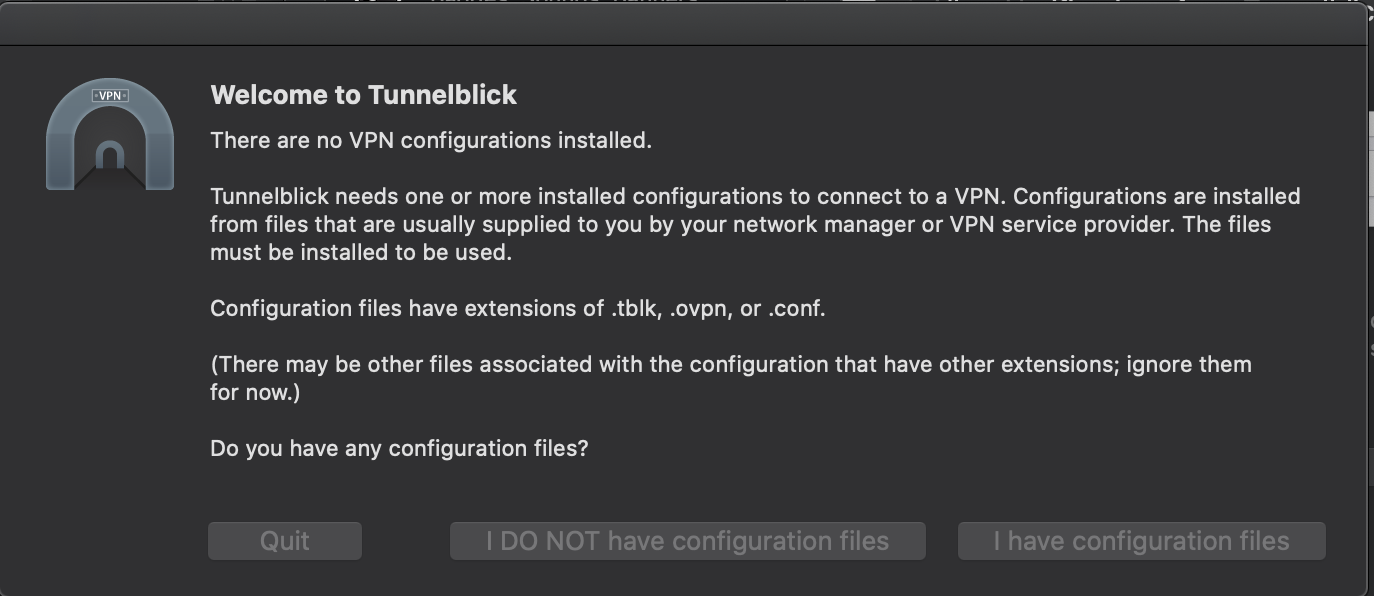
12. Confirm the window with the "OK" button.
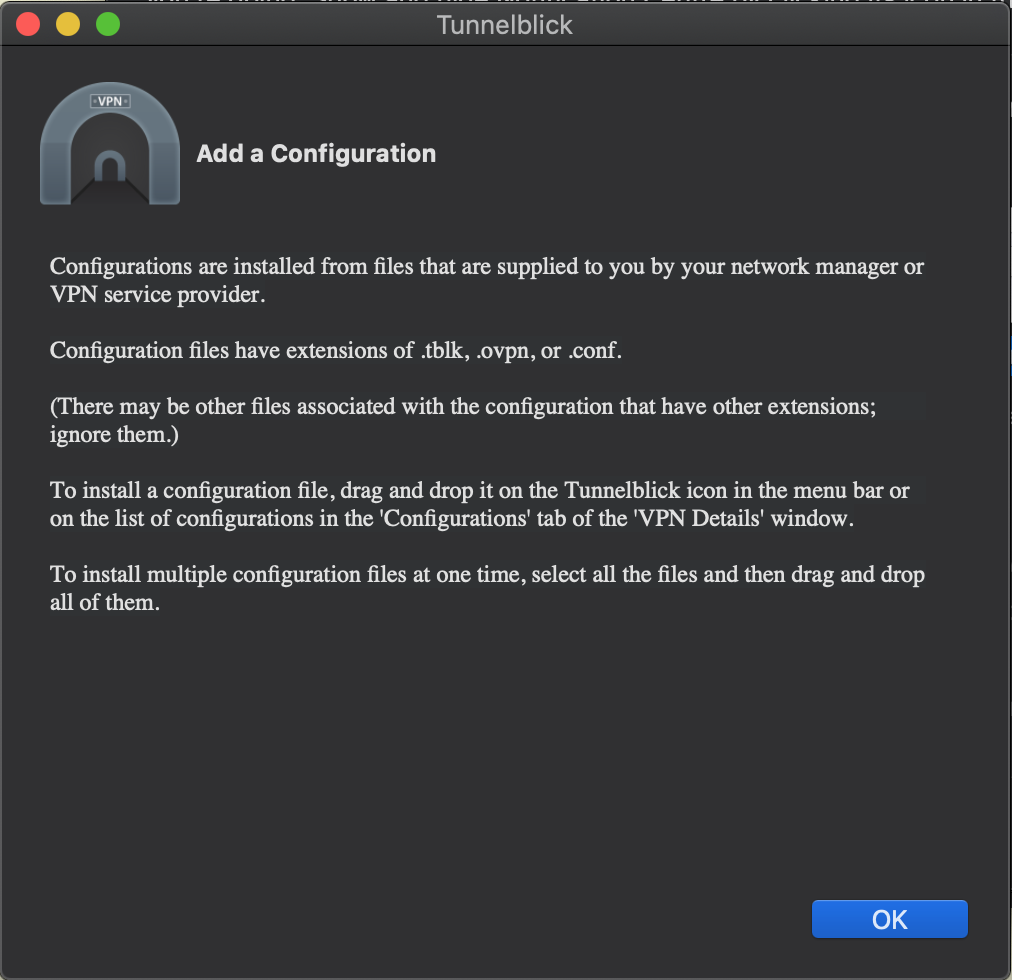
13. Download the VPN configuration file. Drag and drop the configuration file to the Tunnelblick icon in the top bar

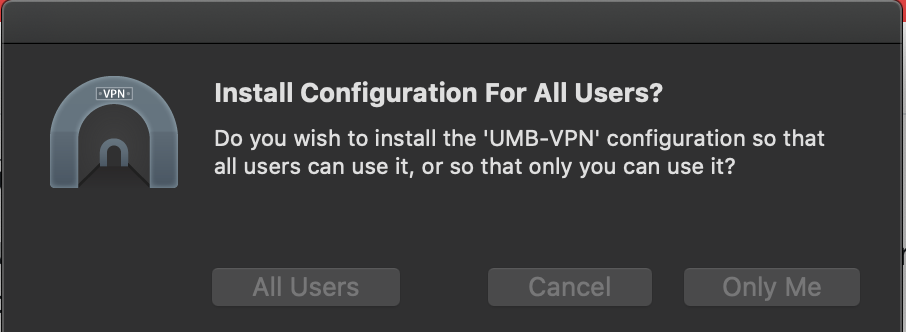
14. Then select whether you want to enable the configuration for all users of the device
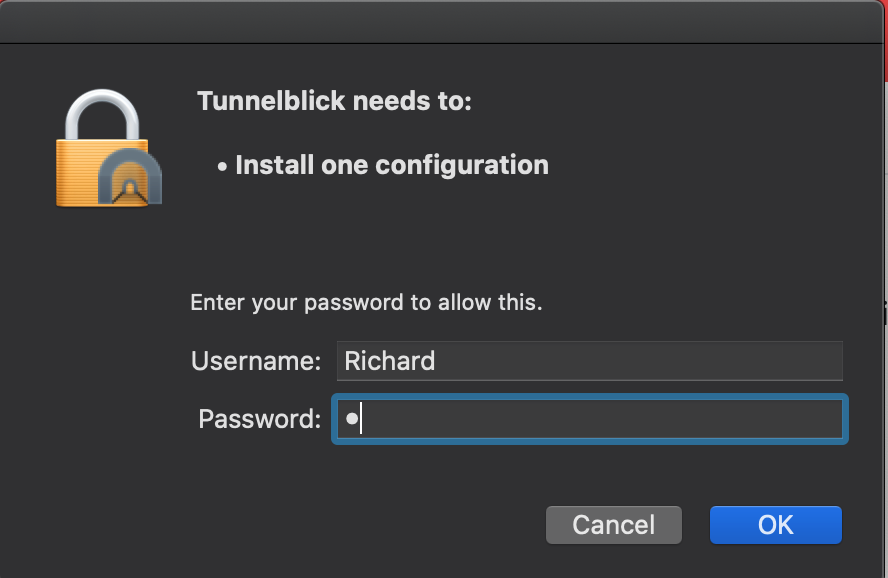
15. Verify with a password
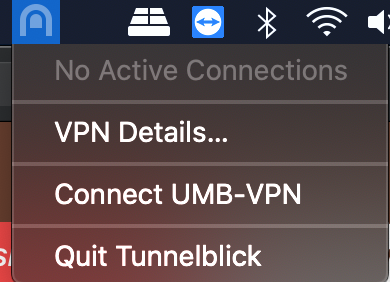
16. Click on the Tunnelblick icon in the top bar and select Connect UMB-VPN (Attention, if you rename the file, its name will also change in the configuration).
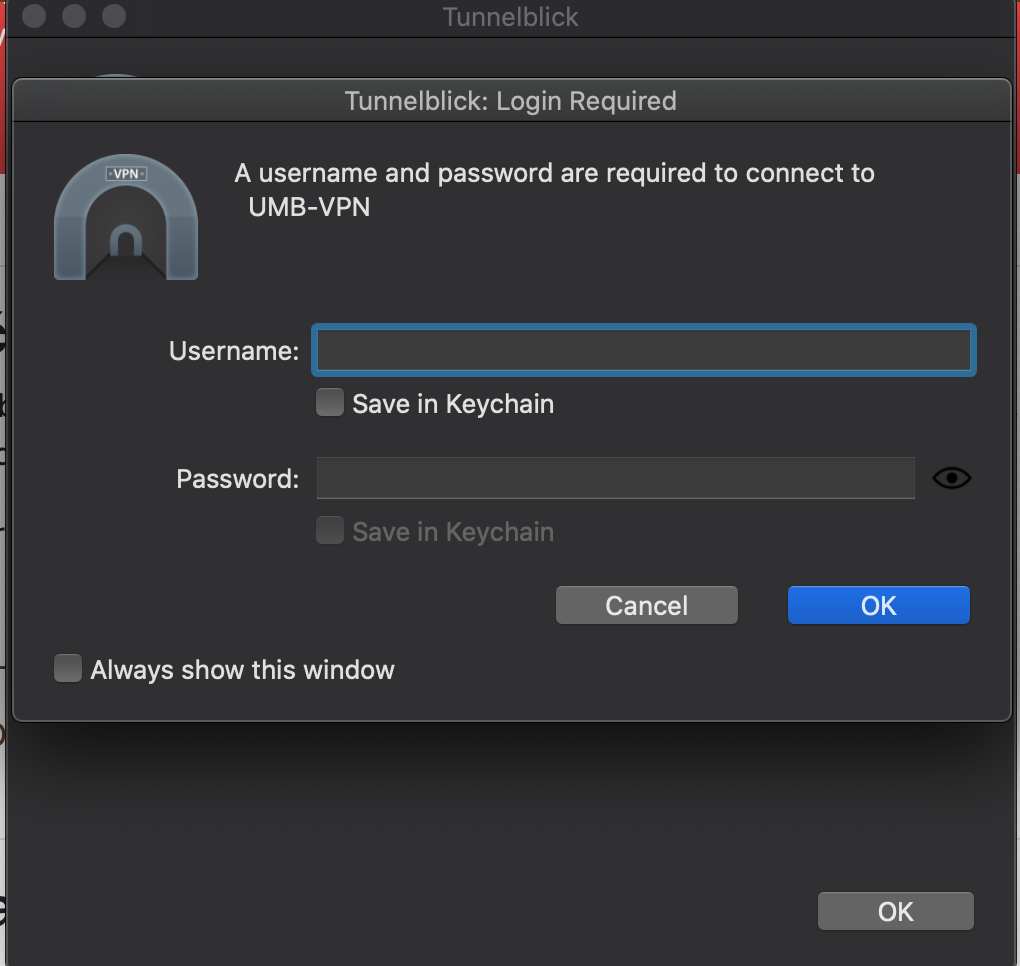
17. In the next window, enter the login data (login name without the suffix umb.sk or student.umb.sk). For example, Janko Hraško would enter a login name in the form jhrasko
18. The following window informs us about the connection and subsequent connection, where we click on the "Connect" button.
